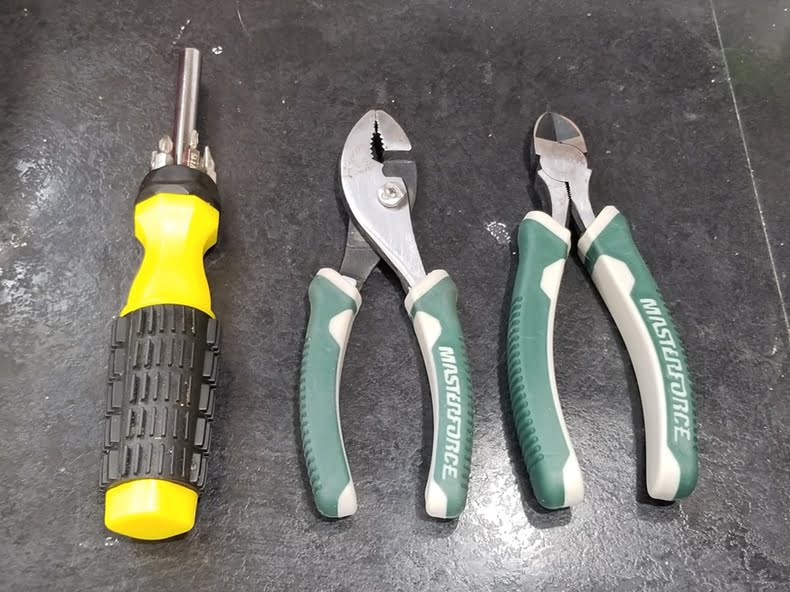
Not many tools are needed, I think every household has them. To remove the old fan + install the new fan, we use the following tools: six-foot ladder, Phillips screwdriver, vise (or wrench), and shears. The wrench was used because the old fan had a hexagonal nut to remove.
First remove the blade, each blade has two screws, screw down on the line.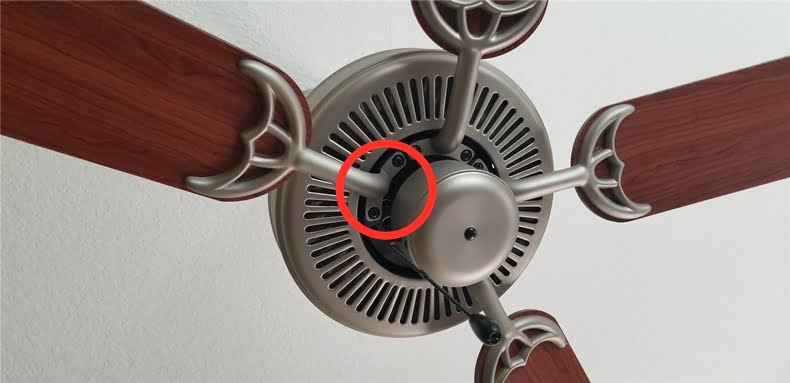
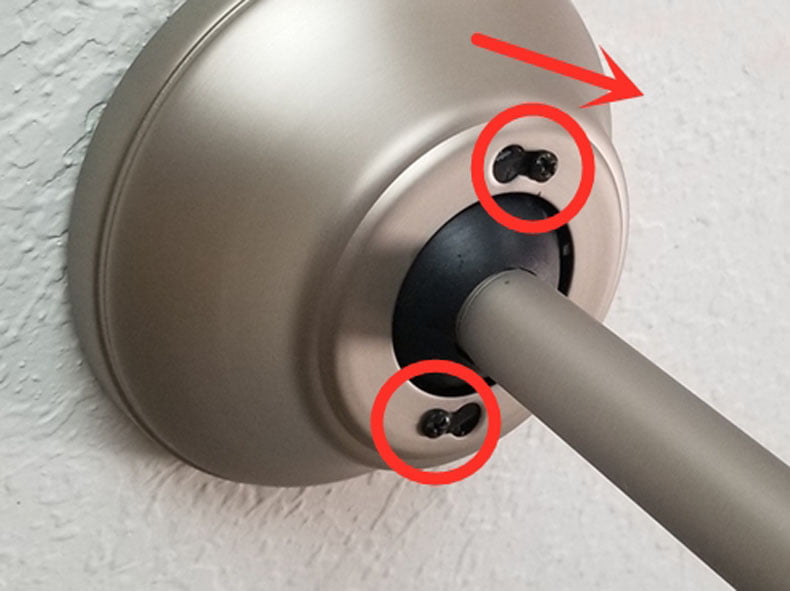
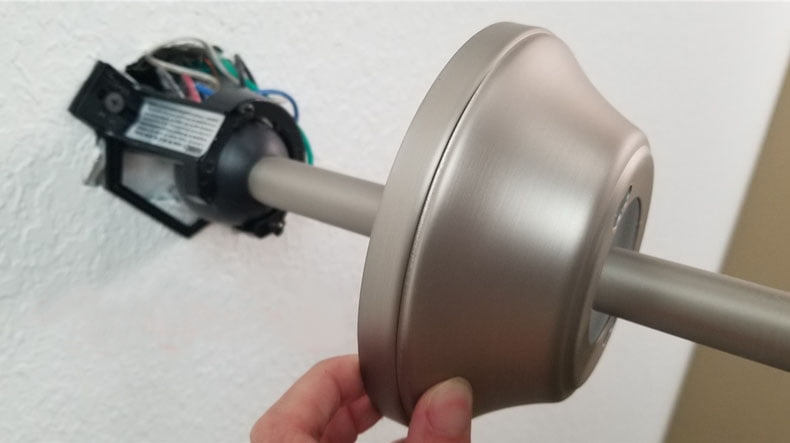
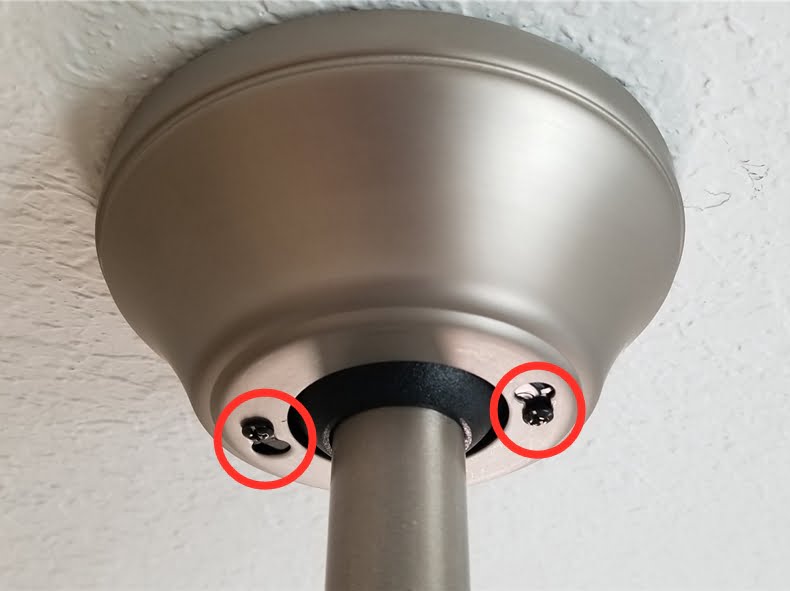
Buckle in the ceiling under the small bowl has two screws, loosen a little, do not need to screw down. After loosening, the small bowl clockwise turn a little to remove it.
After the small bowl is removed, you can see the wires.
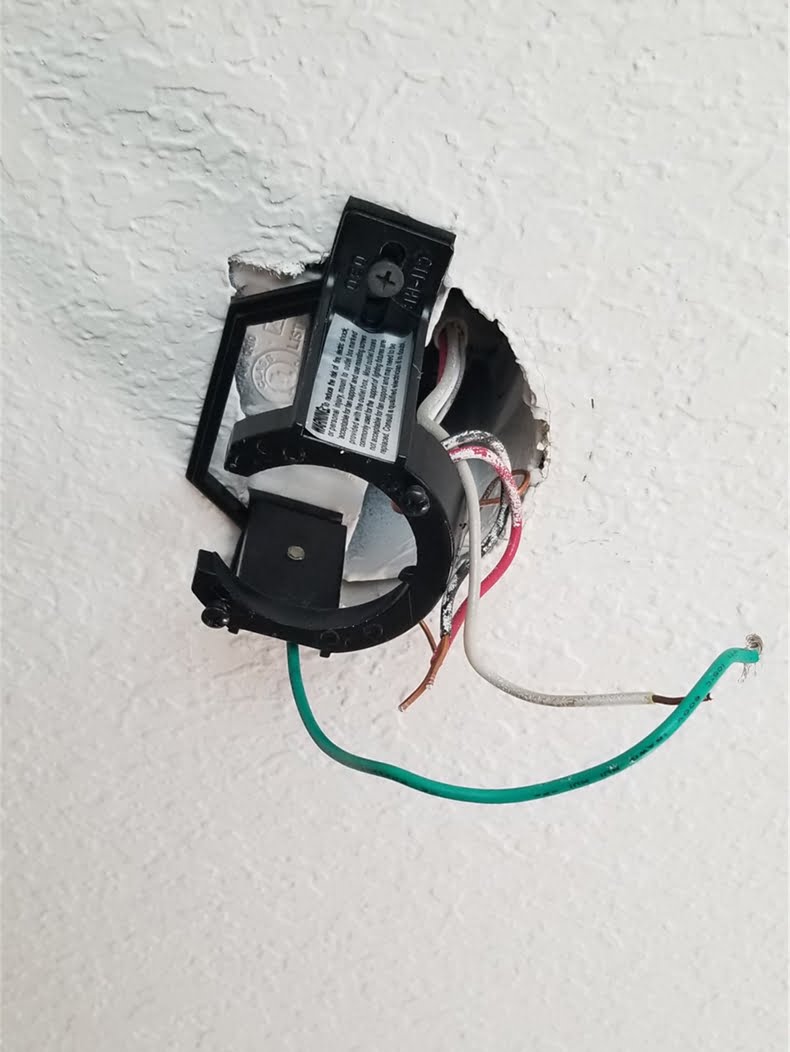
Unscrew the four wire connectors, the fan and the ceiling wires will be separated. Then the ceiling fan iron pipe through the C-shaped gap to exit.

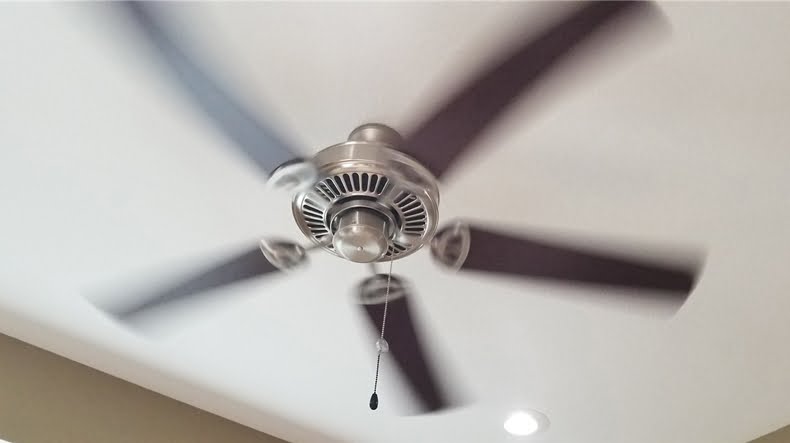
Now only the black iron frame is left in the ceiling. I didn’t remove the wire frame because the new fan’s wire tube could also fit over the old frame. So the old fan is disassembled. Is not very simple!
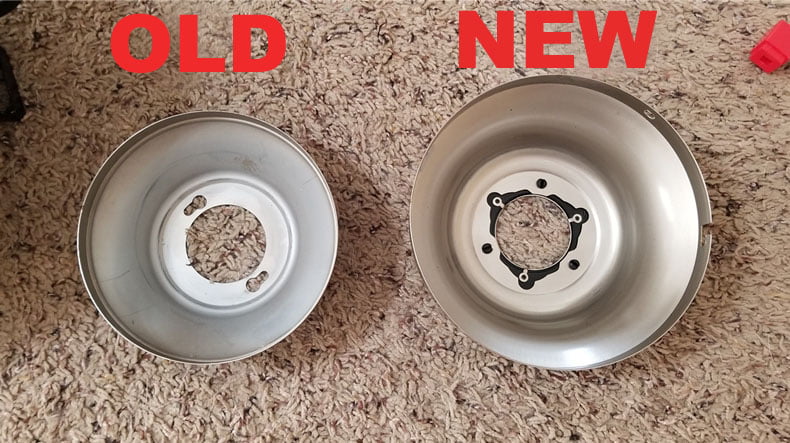
I plan to continue to use the black iron frame of the old fan, then the old fan bowl can also be reused, its function is to hide the wire, play an aesthetic role. In order to take out the small bowl of the old fan, I used a wrench to remove a nut.
The wires of the new fan motor were first passed through the small bowl and then through the iron pipe, which was fitted with the new fan. The wire emerged from the black head on the top of the iron pipe after it was put on. The wire can be cut short if it is too long, and peel off 1-2 cm of wire skin at the end of the wire.
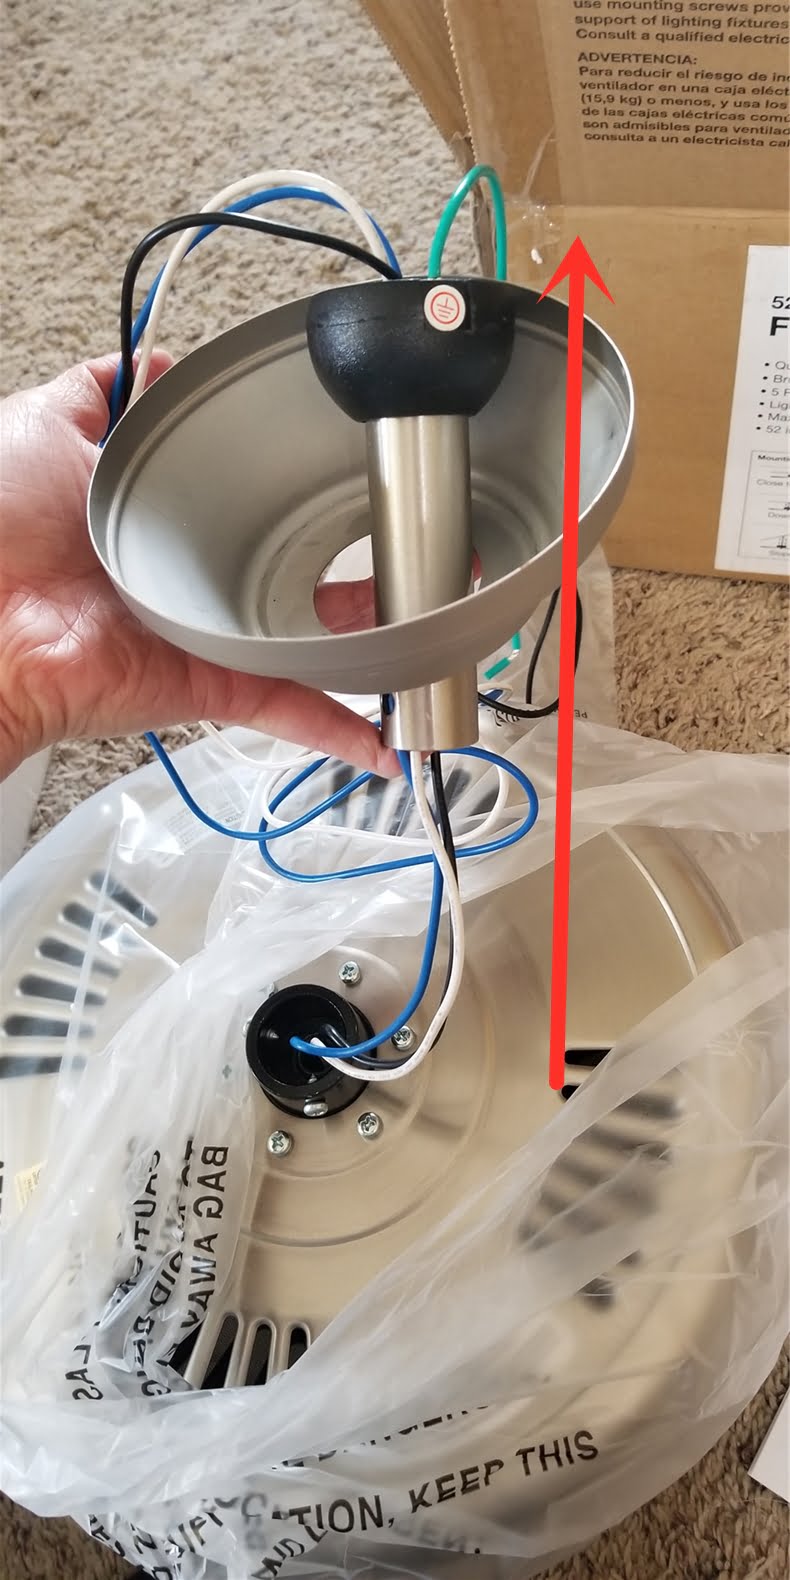
Fix the iron tube on the motor, see the fan manual for details, it is not difficult.
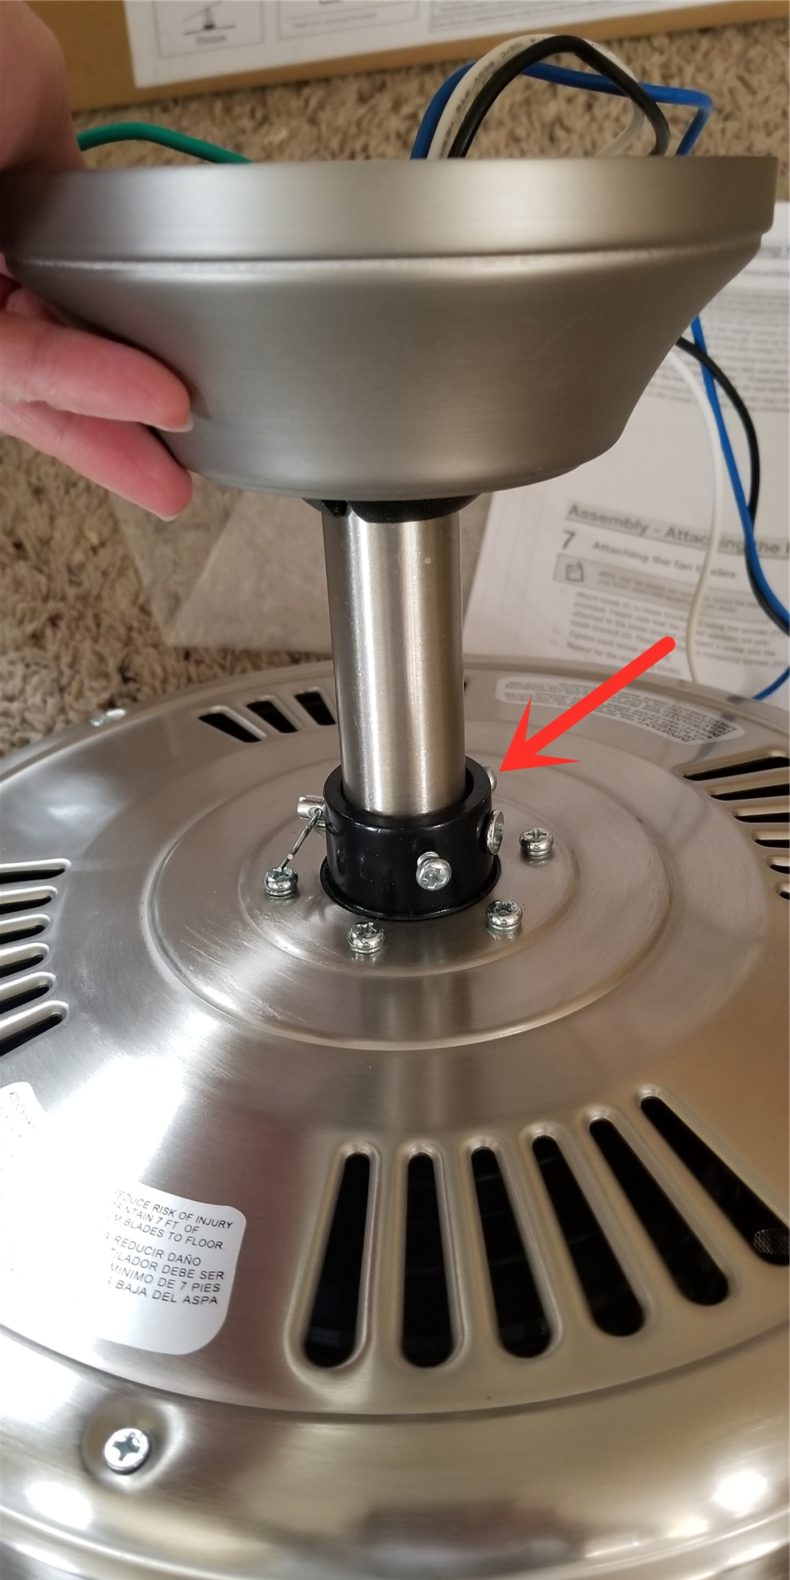
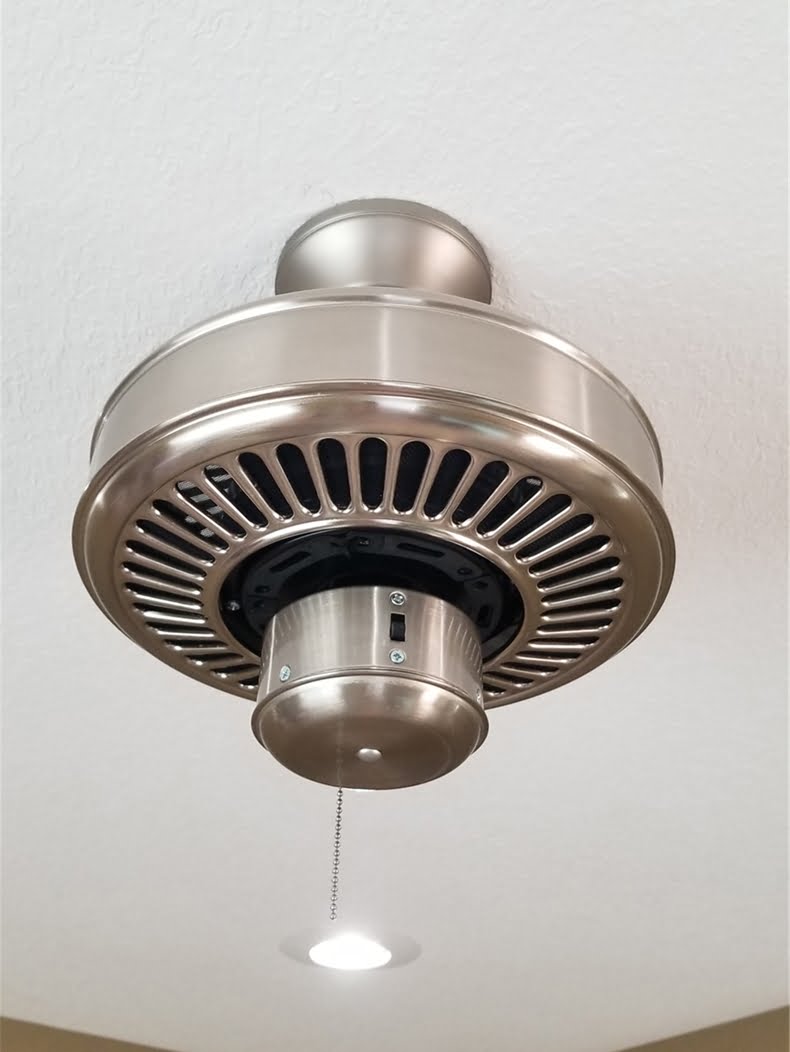
Snap the top of the tube through the C-shaped notch of the black iron frame. There is a black hemisphere at the top of the tube, which is larger in diameter than the notch of the frame, so it can hang on it. The four wires are connected with wire connectors.
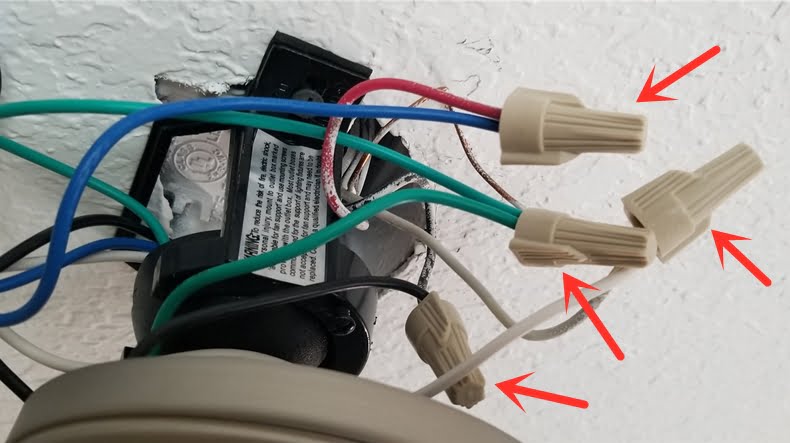
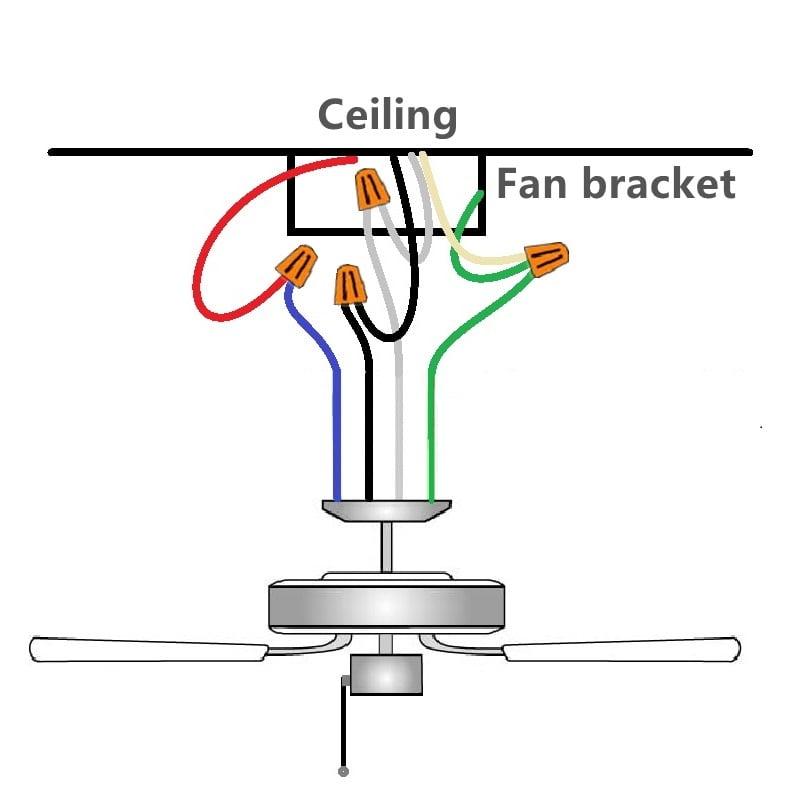
I demonstrated that the switch on the wall controls the fan on/off, and the tug cord on the fan controls the speed. The bare copper wire from the ceiling, the green wire from the wire frame, and the green wire from the fan are connected together. I drew a schematic.
After connecting the wires, the wires are organized, and the wires will not show up after the small bowl is fastened on the line. Then tighten the screws of the small bowl.
Turn on the electric switch and test the new fan motor to see if it runs.
Close the electric switch again and install the blades. Open the electric switch again, the new fan is installed. Is not very simple!