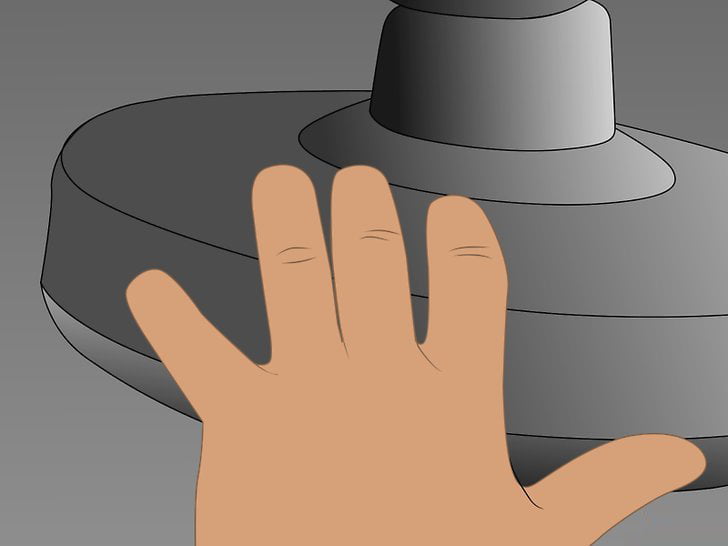
Step 1. Make sure there are no obstructions (wires, ducts, structural framing, etc.) and locate on the ceiling where the fan rated junction box will be installed.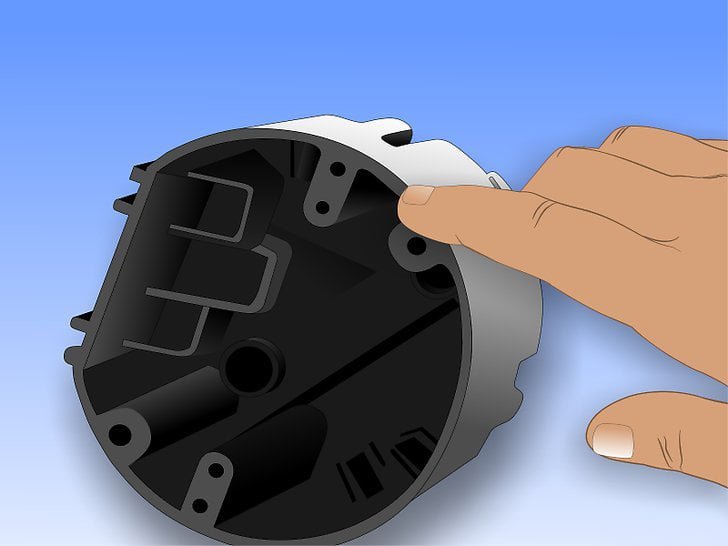
Step 2. Once you have determined where to install the fan, prepare the power connection. If you are installing the ceiling fan in a kitchen or dining room, the existing power cord you will be utilizing may be thicker, such as a #12 gauge wire. Regardless of the location, if your power cord is 12 gauge, you must use # 12-2 or #12-3 wire as shown below instead of #14-2 or #14-3 wire. The general rule is not to connect wires of different sizes together.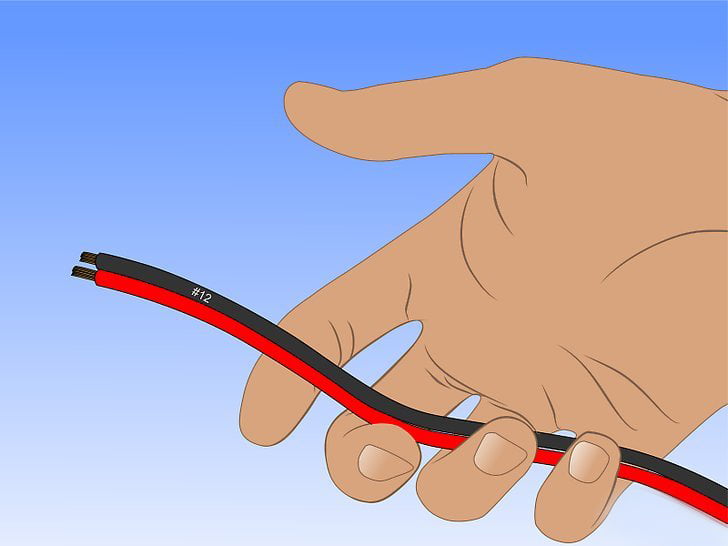
Step 3. Locate the #14-2* or #14-3* cord from the switch box with the # 14* unswitched 120 volt Fire and Medium wires. If your ceiling fan has a wireless remote control, you may want to power it directly from a 120 volt outlet. Better yet, export and install a new switch box from the electrical outlet and power the ceiling fan from that switch box. If you plan to remove the ceiling fan later and replace it with a light fixture, then you can control it from this wall switch.
Step 4. If you want to: A) Power both the ceiling fan and the light (if applicable) and use one switch to control the switch; B) Power both the ceiling fan and/or light and use the RF remote control included with the ceiling fan accessory or purchased separately to control the switch, using # 14-2* cord. 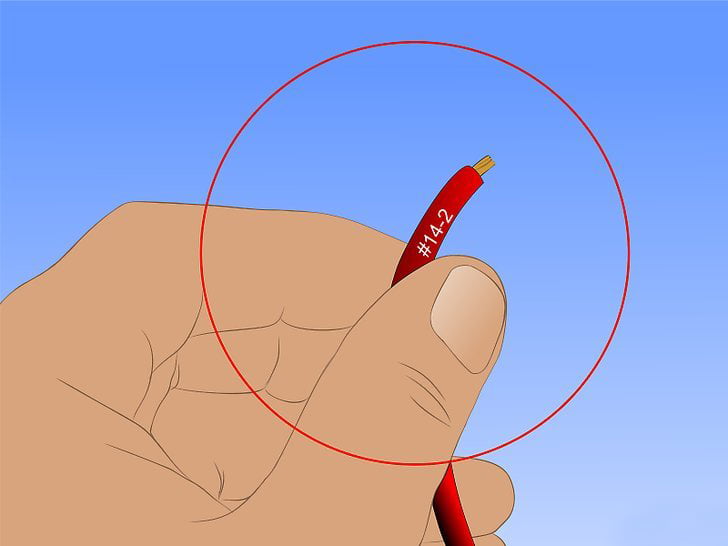
Step 5. If you want to: C) use two switches in one switch box to power a ceiling fan or light individually, use # 14-3* wire. 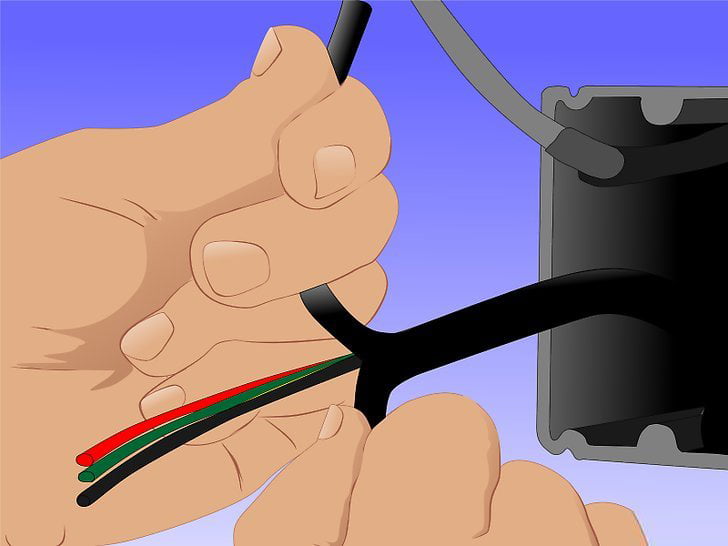
Step 6. Wiring requirements for A, B or C above can be met using # 14-3* wire, thus providing a great deal of installation flexibility at a fraction of the added cost.
Step 7. Connect the wires through the wire entry opening into the ceiling fan box using the appropriate connector if necessary.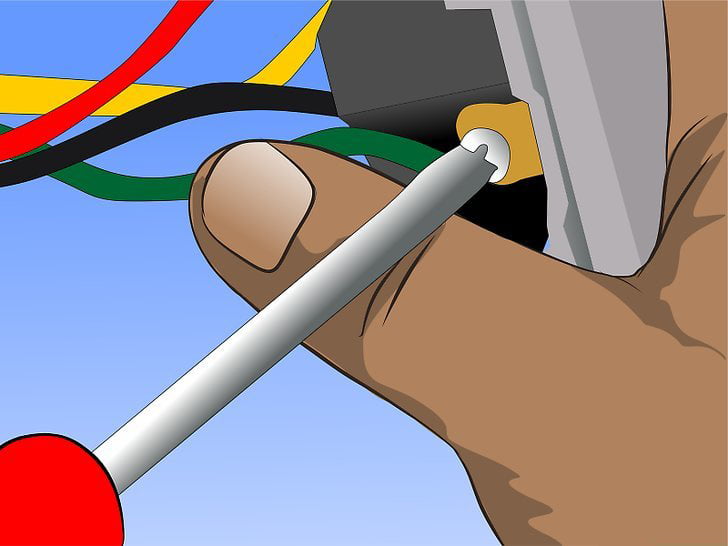
Step 8. Secure the ceiling fan rating box and junction box according to the manufacturer’s instructions. All ceiling fans will vibrate when they are in operation. Your ceiling fan installation must be able to withstand this constant stress, which is why the National Electrical Code (NEC) mandates the use of ceiling fan rated boxes. Prior to this NEC change, many people were injured because their ceiling fans were not properly installed. The use of ceiling fan rated boxes greatly reduces this risk. 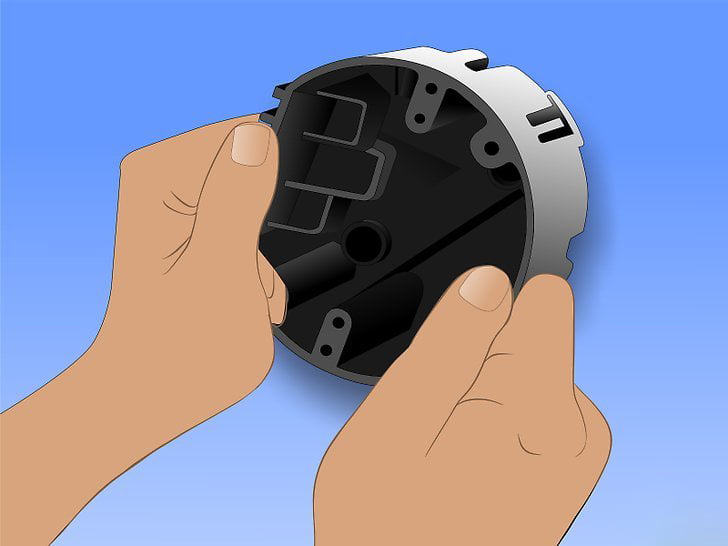
Step 9. Most ceiling fans contain universal mounting bases for common ceiling mounts. Choose the one that works best for your use.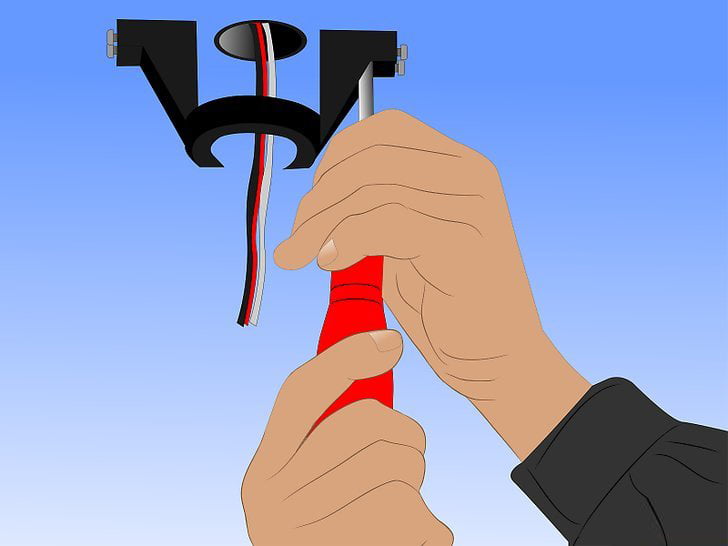
Step 1. For ceiling fan box: If you are using # 14-2 or # 12-2 wire, follow the standard color coding scheme for connecting the wires to the ceiling fan: white wire to the white wire of the ceiling fan, bare (or green) wire to the ceiling fan ground/green wire, black wire to the ceiling fan black wire and blue wire (if available).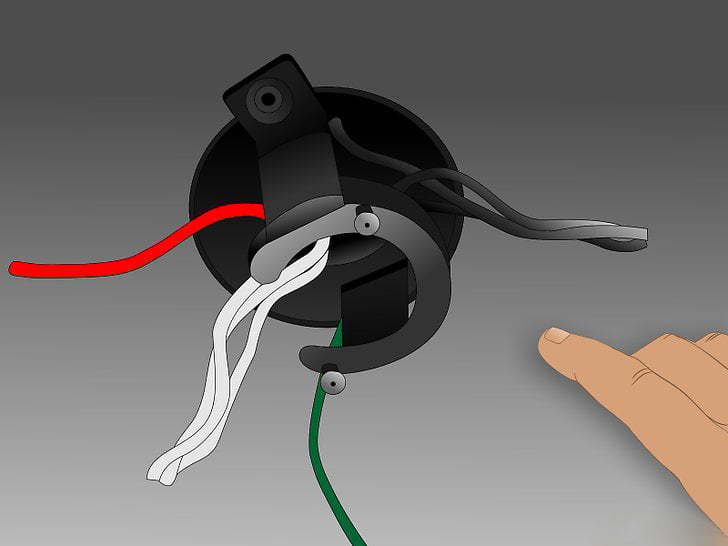
Step 2. For ceiling fan box: If you select # 14-3 or # 12-3 wire, you will have black, red, white and bare (or green) switch wires. Connect the white switch wire to the white fan wire by connecting the white switch wire to the white fan wire, connect the bare (or green) wire to the fan ground/green wire, connect the black wire to the ceiling fan black wire, and connect the red wire to the ceiling fan blue wire.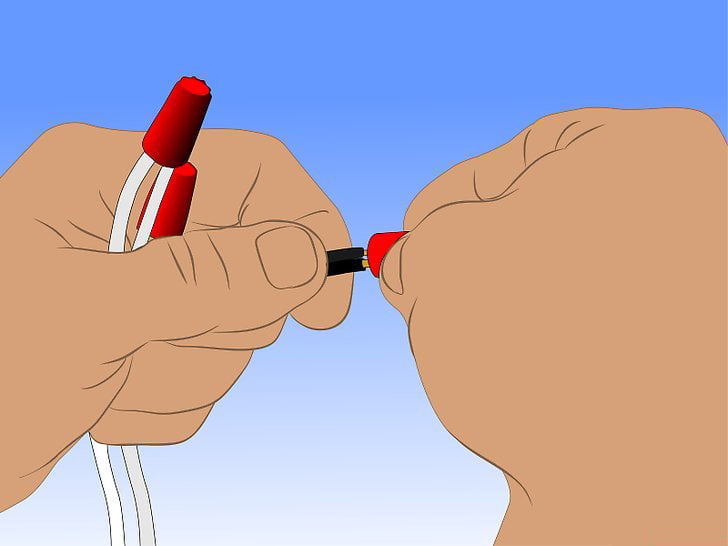
Step 3. For switch boxes: If two wall switches or controls are used in a box, all earth wire (bare or green wire) are connected together. The green screw or green wire on each switch should be connected to the earth wire harness. Secure this connection with a nut and push it to the back of the box. Connect the white power wire to the ceiling fan white wire, secure with a nut and push to the back of the box. With the switches in the on and off positions, connect a 15-20 cm length of black wire between the black power wire (or live wire) and the top screw of each switch. Connect the red wire from the ceiling fan to the bottom screw on switch #1 and the black wire from the ceiling fan to the bottom screw on switch #2. If the wires are connected correctly, switch #1 will switch the lights on and off and switch #2 will switch the ceiling fan on and off. If you want to adjust the speed of the ceiling fan from the switch box, apply the ceiling fan speed control to replace switch #2. switch #1 can also be replaced by a dimmer, which can be used to dim the lights.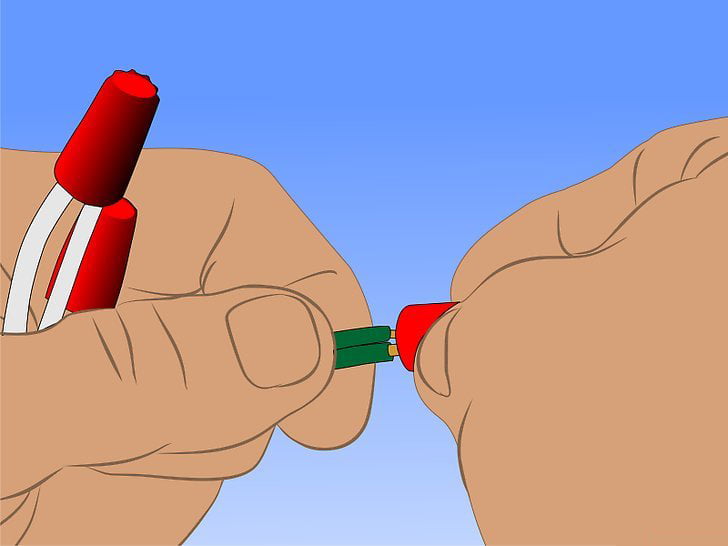
Step 4. For switch box: If a wall switch is used, take the same approach as above for the wiring of the white wire and earth wire. Connect the black power wire (live wire) to the top screw of the switch. If you wish to control the lights through the wall switch: connect the ceiling fan black wire to the power supply and the ceiling fan red wire to the switch, since power is always available to the ceiling fan, it can be operated by the pull wire switch to operate the switch position alone, while the lights will be operated by the wall switch. Reverse the wiring switch and power supply, you can use the switch to control the fan and the pull wire switch to control the lights.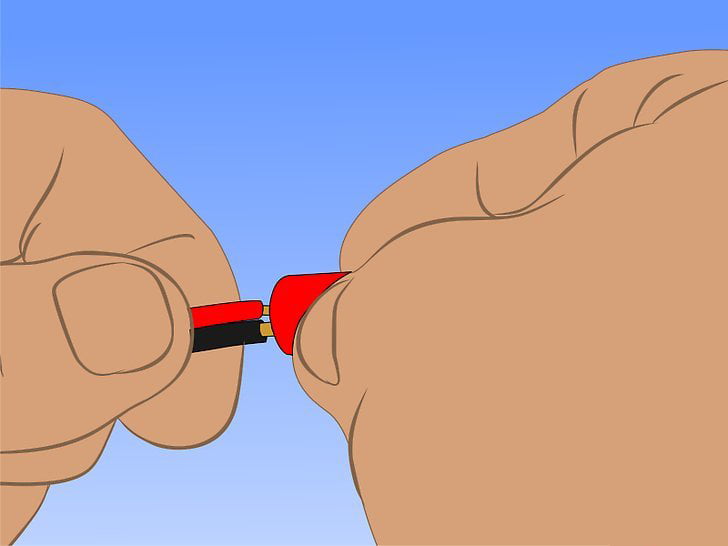
Step 5. If using a remote control, connect the fan black and white wires directly to the always-on (switched outlet or line side) power source. Follow the remote control instructions for wiring – most likely the power cord will correspond to the input cord of the remote control (black to black, white to white) and the ceiling fan/light cord will correspond to the output cord of the remote control (black to black, white to white, blue to blue)
Step 6. Cover each connector with a wiring nut. Push additional wires into the electrical box so they do not take up space. When wiring ceiling fans, use the “wiring hooks” provided for hanging ceiling fans.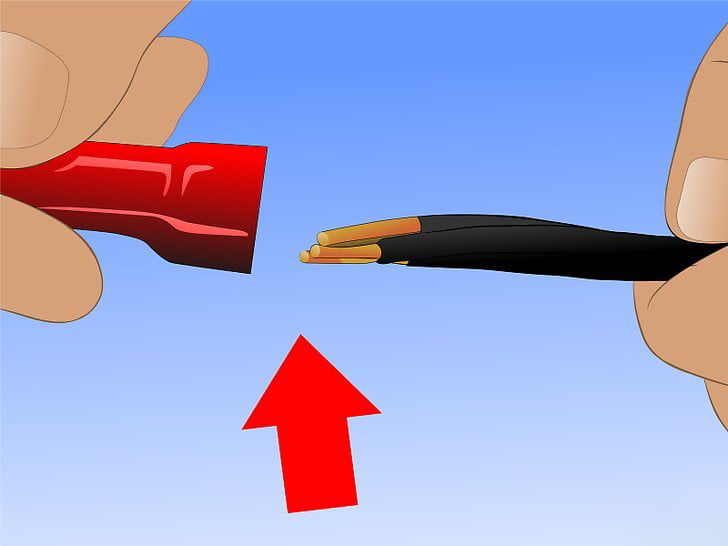
Step 1. Follow the manufacturer’s instructions first.Most fan blades have a double-barreled attachment that uses screws that enter the downrod through holes in the blade. This needs to be held firmly in place, but not so tight that the threads are damaged or the cladding material of the blade is crushed.On many ceiling fans, you will find that the downrod tip also needs to be mounted to the motor housing. If this occurs, secure the downrod tip before installing them into the blades.
Step 2. Begin mounting the blade/bracket assembly to the ceiling fan motor. 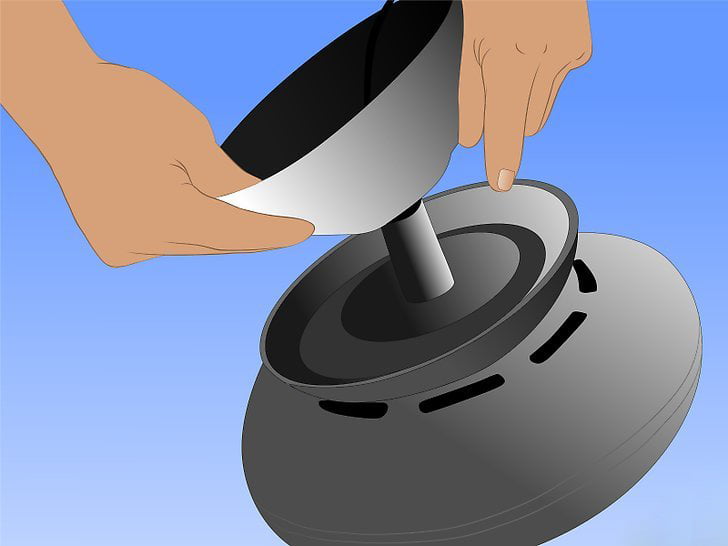
Step 3. If the distance of the fan blades from the ceiling is less than the length of a screwdriver, it is best to install all the blades before lifting the ceiling fan.
Step 4. Some ceiling fans use a “quick mount ring” that allows you to assemble the blades on the floor and then attach them to the motor that is already attached to the ceiling after installation. This can be done by:
• Fasten each blade to the quick release ring, then attach this assembly ring to the motor with rubber washers and captive screws.
• Add a cover to the quick release ring and install the decorative cover plate.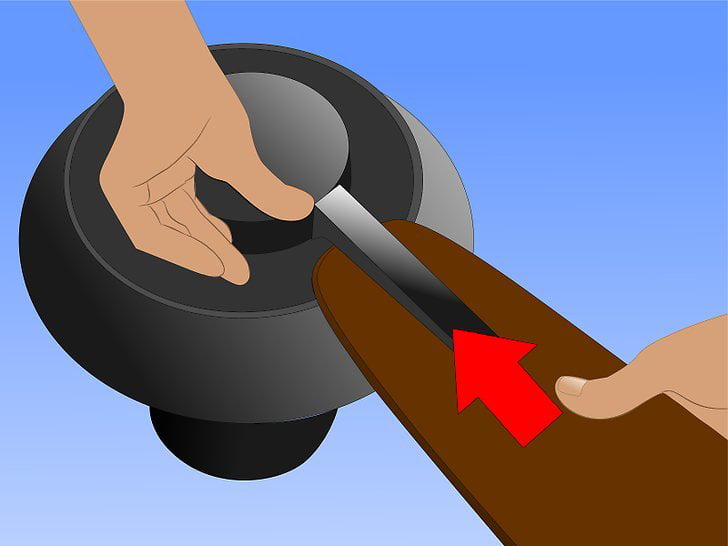
Step 1. Install the hanger bracket on the box with screws and lock washers. If lock washers are not available, you should purchase some and use them to mount very essential as it will prevent the screws from loosening over time and causing the ceiling fan to vibrate. The hanger bracket can support either a dome hanger or a hook hanger, depending on your ceiling fan. Either way, carefully slide the hanger into the bracket. Twist the hemispherical hanger until the tongue of the hanger bracket lines up with the groove of the hemispherical hanger.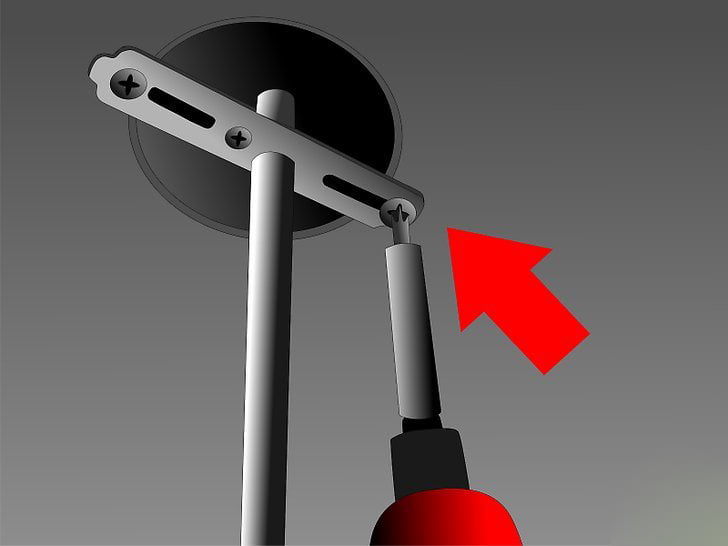
Step 2. Attach the fan top cover to the fan motor housing by screwing it to the mounting ring. If you have high ceilings, you may need to add a section of downrod.
Step 3. Hang the assembled motor from the two hooks on the mounting bracket.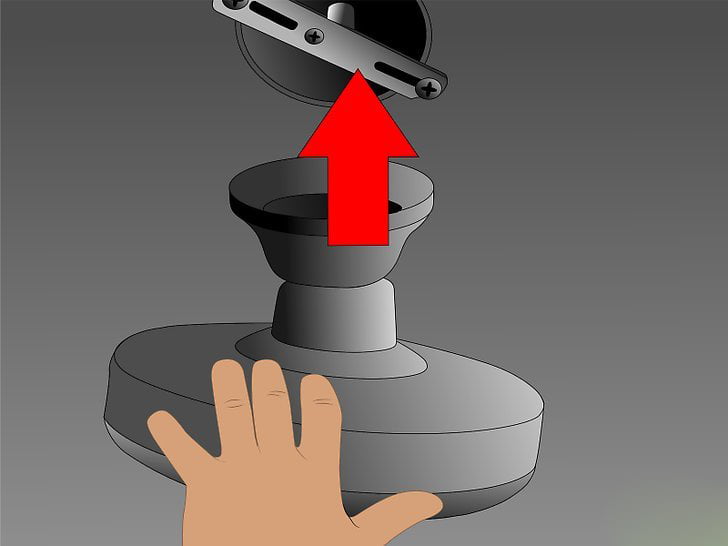
Step 4. Reconnect the wires, starting with the earth wire. Be sure to connect the black house wire to the ceiling fan black wire and the white house wire to the ceiling fan white wire. Use a wire nut to connect the ground wires leading from the box, the ceiling fan and the power cord. Fold and roll all the wires under the top cover and secure the top cover to the mounting bracket.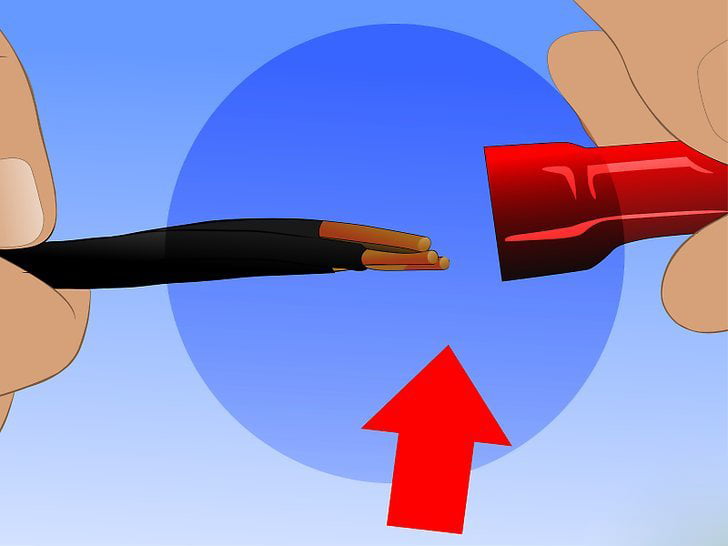
Step 5. Slide the ceiling cover to its maximum height and fasten it in place.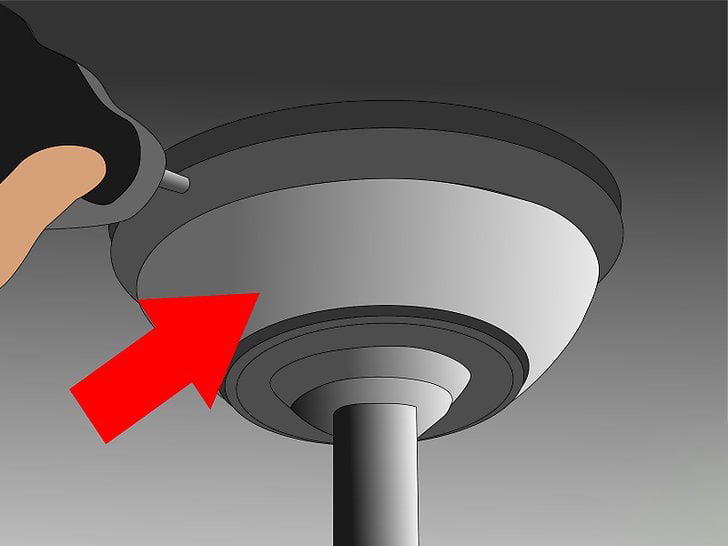
Step 6. Attach the fan motor to the mounting bracket with the screws provided. Turn on the power and make sure the connections are good – remember to turn on both the wall switch and the pull cord switch, and that the ceiling fan is in the on position.